| Author |
Message |
    
Jlander
Username: Jlander
Registered: 5-2007
| | Posted on Wednesday, July 25, 2007 - 7:42 am: | |
When a new guitar comes (or abby`s history) By Javier Lander
Meeting Abby (if you want to read the tech part, go below)
Ive been a faithfull lover of Ibanez Guitars since i`ve learned to play the guitar in the year 1991. Due to my age at the time (i was 11 years old) and the
country where I was borned (Venezuela), buying a new guitar was an investment and something not very ofte because the high cost of them and the poor offer.
Now, 17 years later, and with bidding websites on the internet (www.ebay.com), the history has changed, so i`ll introduce you to Abby: My new guitar, or let
me correct this phrase, my new old guitar!
I`ve been a huge fan of the Ibanez Guitars since i saw the first one on the hands of CC Deville of Poison in the 1992 Live Double CD (Swallow this live),
even that i am a big fan of GNR`s guitar player Slash and his Pauls, but Ibanez just got me. At the end of that year i managed to change mi chinese-np-brand
ibanez copy with a real Ibanez EX270 (wich now i now is the first production of chinese Ibanez RG but EX-perimental). A few months later i played an Ibanez
JEM77FP trough a Fender Bassman, the world changed for me. (i`m still looking for an 1988 Ibanez Jem 77FP, its my Excalibur, my sword in the stone, "my
precious")
Many years later, and a few Ibanez guitar later, i have reencountered with the Ibanez of thr 80s and the early 90s, the best time for modern Ibanez guitars.
In fact, i meet again with the Ibanez Roadstar guitars the previous ones of the famous RG line (RG for Roadstar Guitar) and after the classic and lawsuit
ones. The Roadstars are high quality guitars made in the Japan factory with high end materials and very high wuiality controls, but in incredible low prices
over the internet because they are not "Collectible" yet.
Well, Abby, "my Abby" is a RoadStar II 315 1983, and here is how i meet her:
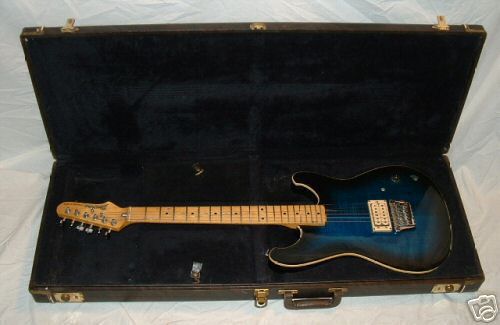
According the 1983 catalog, the specs are Basswood body, Maple top, Maple neck, 21 frets, Ibanez V2 pickup and Har Rocker Bridge. Marine Sunburst finish.
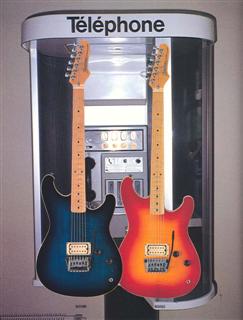
Catalog photo 1983-1984
I met abby surfing trough the web, as always looking any Ibanez offer, watching price movements, specs, spare parts i could use, or any related object or
info i could find or learn. One day a saw an Abby (not mine), i bid, but not with the "intention" needed, after this sour flavour, a week later apperar my
abby, in the hands of a toner seller with a few loosse parts. It had to be mine. If it wasn`t enough, the day the bid endend i had a Gig at the same time, so
i bid very high and hope to get it. The only problem the guitar was in the USA (i`m in Madrid Spain), so the shipping was almost as expensive as the guitar.
But its mine.
I went to pick her up in the Barajas Airport (some taxes issues), i couldnt ressist, i openned the box right away in the same office... love at the first
sight. Just the smell of the old wood, the dry oil and the feel in my hands was enough. I was hooked.
Actually, leaving behin the fiction, adiction and the love i have for the Ibanez and the guitars at all, the shape wasnt the best. Over 15 years of dust,
sweat and bad care (not bad use, it looks was used by a kid in home so it has a few fisich cracks, but the frets are in perfect shape even the case is in
perfect shape, the only problem is the wear on the freatboard it seems the prevous owner had long nails, maybe a girl).
With her original brown case, the wear on the freatboard and lots of dust, thats how i meet her.
<----------------------tech>
Cleaning:
Part 1
Dessasembly: 10 minutes, putting all together about 3 or 4 hours and many beers.
First of all, take off the strings tha came with her. After that i took off the springs of the bridge and took ti off too.
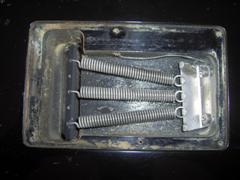
Detail of the springs
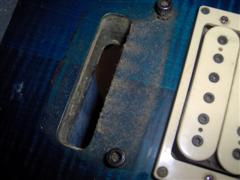
Dirt under the bridge
As you can see on the picture, also removed the pickup, the dirt is at least of 10 years.

Dirt in the pickup
Now its time to remove the neck.
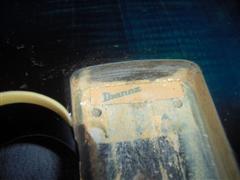
Shim with Ibanez logo (never saw one with logo)
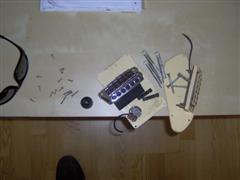
Loose parts
You have to notice in the neck pocket there is a small flat part with the Ibanez logo. These "shims" are used to adjust the hight and the angle of the neck.
Very used in high quality guitars (it indicates good quality control and factory setup).
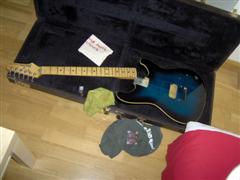
Here i had to stop, had to go back to work (dissarmed during lunch time)
Part 2
In the night when i got home (about 23:00) the part 2 starts, cleaning and assembly (but still i need to remove the tuning pegs) .
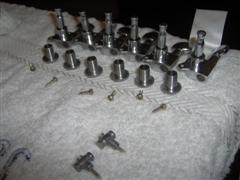
Tuning pegs removed
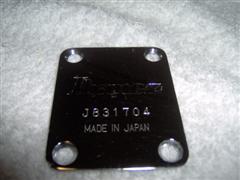
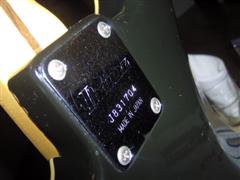
Serial number J831704
Tuning pegs removed. Is estrongly recommended to keep every part removed in order of extraction, so they can be installed in the same order to avoid errors.
Actually i saw a peg that had a number different form the others, the flat E string, i guess for more tension on the string.
Later the neck comes out, and the serial number plate too.
Check the serial number J831704, the first letter is the month of construction (June or July), the 83 is the year and the other 4 digits is the real serial
number. This coding is only valid for Ibanez Guitars between the 1974 and 1987 years. (more info on www.ibanezrules.com)
Now its fully dissarmed, finally, lets clean this mess.
The neck:
Now with the neck fully cleaned, initially with water and soap, beacuse a big part of the dirt is dust and sweat. We should be carefull not using the water
directly, only with a wet cloth so the wood doesnt bends beacuse the change of humidity, lets remember is wodd of 25 years of use.
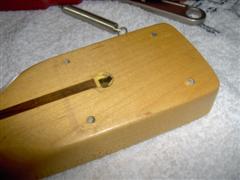
Neck
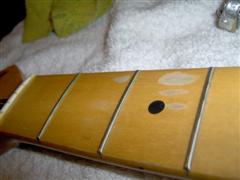
Wear of the neck
It still has the wear marks in the neck, but ill fix them in other time (with the fret change and leveling), but at least is clean!. Now lets clean the
tuning pegs. I use alcohol (domestic use, the one to clean the wounds at home) because is the only solvent i have at home and the softer one. I hope ir works
well and doesn˝t gets me troble in long terms.
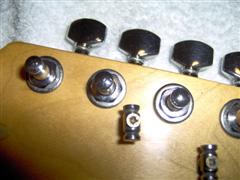
Clean tuning pegs
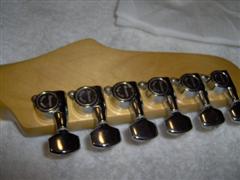
Neck and pegs cleaned
This is a very boring process, but really worthy, first to get the guitar fully cleaned, and second beacuse this dirt could help the corrosion to get (PH
Matters). Its a long term investment, so you keep the high quality and original parts and the guitar keeps its original market value.
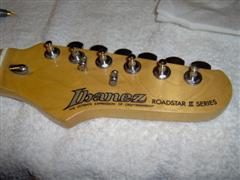
Neck ready
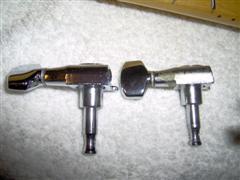
Dirty and cleaned peg.
We should check too the curve of the neck (if its straight or bowed). The procedure should be to completely straight and check the neck, then completely bow
and check the neck, to see if the truss rod is working properly, but this is a quality inspection for a new guitar. This one has a straight neck so i will
skip this step (maybe check later for a fine tune of the truss rod)
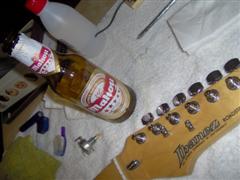
Ready the neck... time for another beer.
The Bridge:
This guitar, due to the construction year, has a descountinued bridge. Its previous to the floating ones Floyd Rose licensed qe all love from Ibanez (Edge
and lo pro Edge). The bridge that comes is the Hard Rocker (pretty 80s the name isnt it?). I havent found much info on this bridges (this is the reason of
this tutorial/history)
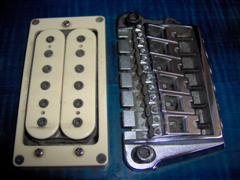
Hard Rocker bridge detail.
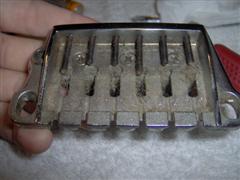
The Dirty Bridge (sounds like porn movie title)
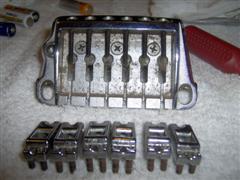
Dessasembly
Now its time to disarm the whole bridge in order to clean it, but we should document the whole process with pictures in case we make any mistake, and we
should order al the pieces in the same order we remove them (to avoid bad assembly, specially in the saddles case, because string hights) i has happende to
me before, thats how i`ve learned to assembly them!.

Saddel parts

Removing the Block
Now its dissarmed and cleaned, its time to assembly.
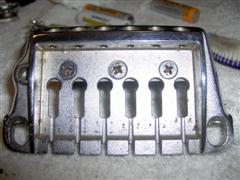
Clean Bridge

Fully Assembled
The pickup and the plastic parts:

Plastic parts
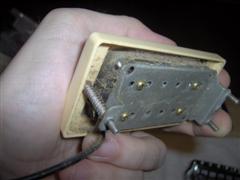
Dirt in the Pickup
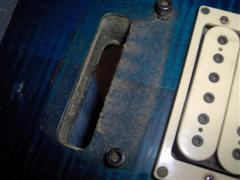
Dirt under the bridge
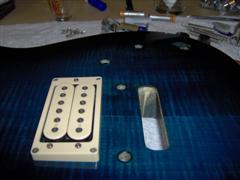
After cleaning
Now its time to join the neck and the body again. Finally its a guitar again.
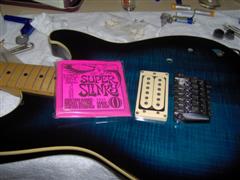
Lets install the bridge and get another beer.
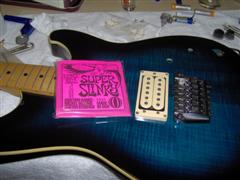
Next Step: strings
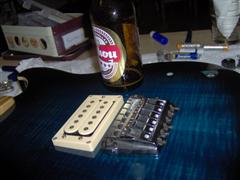
Low on Fuel.
Actually, installing the bridge i found a problem, the block in the bridge was installed in the wrong position. The pics helped me to check the problem,
because the bridge wasnt adjusting well in the guitar.
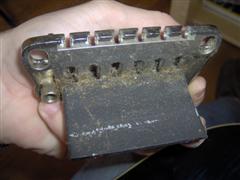
Diference: Logo on front
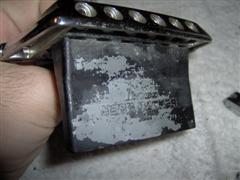
Diference: Logo on back
After dealing with this issue, lets install the strings. Check the detail in the bridge, where the strings is installed in the opposite direction, and then
it turns 180║ over the saddle.
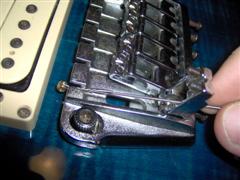
Detail of string insertion
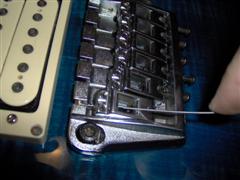
Detail 180║ turn
Lets install the right amount of string (between 3 and 4 turns on the tuning pegs per string). This should be an important detail to attend, you can have
tuning problems due this matter. Specially in locking guitars (not this case).
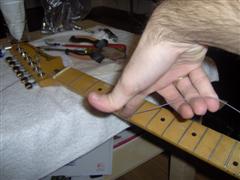
Right amount of string.
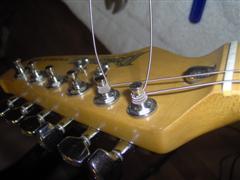
Between 3 or 4 turns
Adjusting the bridge:
The action in this bridge can be adjusted in two ways (as detailes in the catalog): one is adjusting the height of the bridge woth the trem posts, the other
one is lowering the bridge and adjusting each string trogh the saddle. I choose the second one, i want a non-tremolo guitar (for tremolo i have my RG520QS)
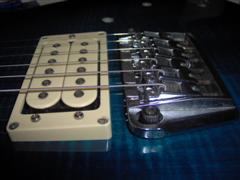
Strings Installed
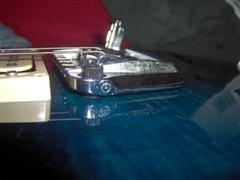
Installing the Strings
Now we have a functional guitar!
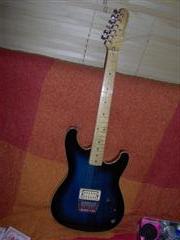
Abby has came to stay !
Still pendind the electric parts, but there is no mystery, just a volume pot and a pickup (not installing tone pot)
Then comes the tune, intonate, tune, tune, intonate, play, play, tune, intonate.... etc... the game that starts but never ends. It should take a couple of
dsays to settle all the pieces (and the wood specially). Lets remember it was fully dissamerd and we dont know how it was before.
I leave you with a pic of my two girls:
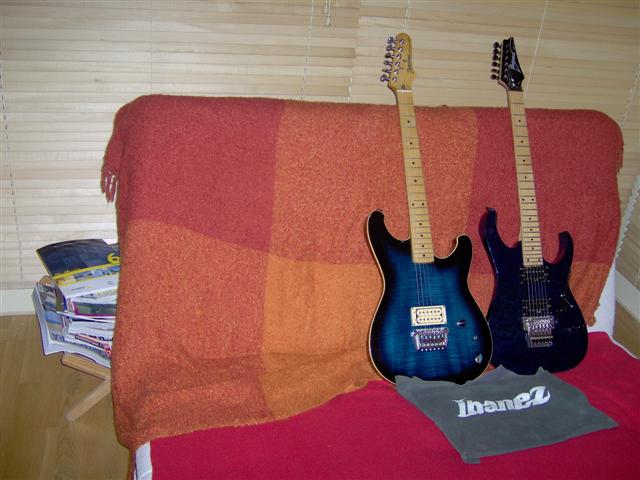
Abby and Frankie (80s y 90s) they are family uh?
Now lets wait for the next guitar (wich i spect soon and my wife spects late) and its time to play.
Javier Lander S
www.myspace.com/javierlander |
|
|
Thank you for supporting Ibanez Collectors Forum. Please help your favorite Ibanez guitar site as we endeavor to bring you the latest information about Ibanez custom vintage electric and acoustic guitars. Here you can discuss ibanez, guitars, ibanez guitars, basses, acoustics, acoustic, mandolins, electric guitar, electric bass, amplifiers, effect pedals, tuners, picks, pickups.
|


